Watch how to design a watermark and add it to your photos in batch in just two and a half minutes.
In this tutorial video you will learn how to batch watermark photos with bulkWaterMark from the scratch. First we are going to design our watermark that is composed out of two layers: the drop image watermark and text watermark logo that spells "drop" too. After some polishing and application of blending effects, the watermark is applied on a bunch of photos.
Download bulkWaterMark
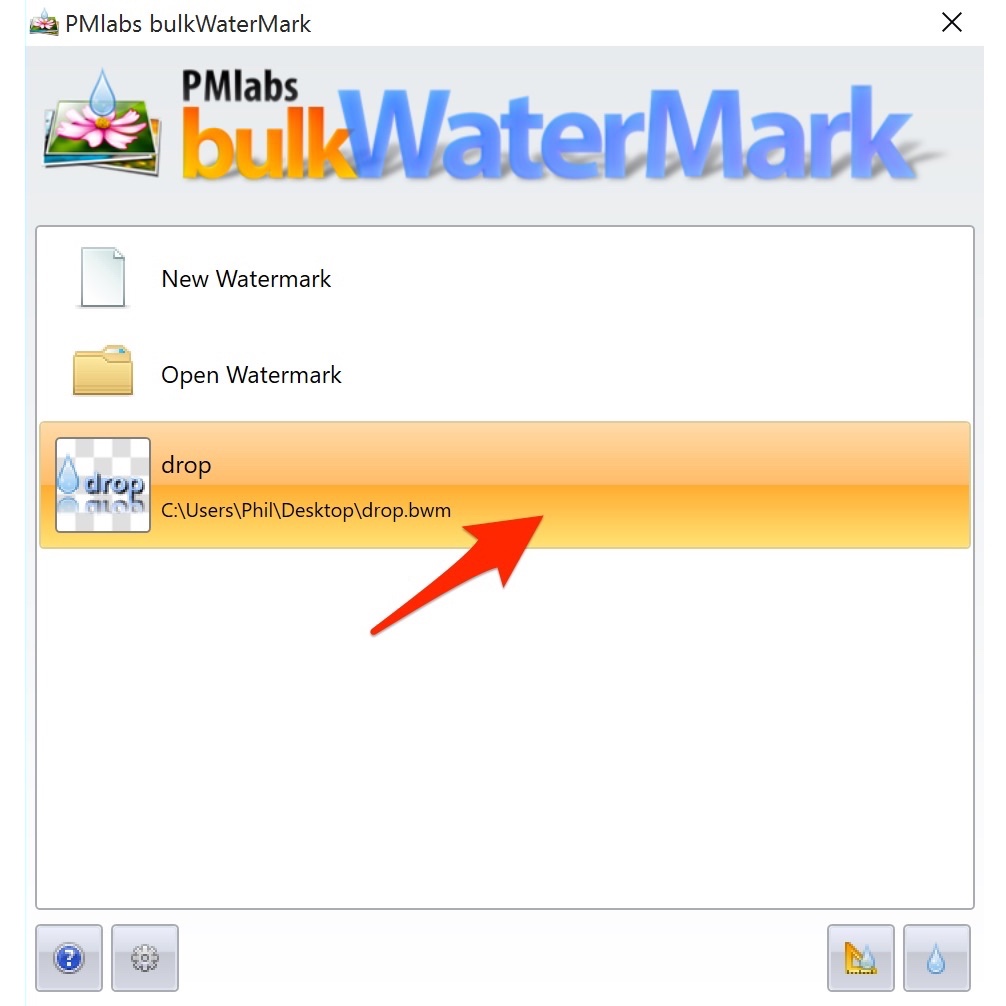
Select the watermark to stamp.Browse in your recently used watermarks list - or create a new photo watermark.
When launching bulkWaterMark you are getting welcomed by our start screen where you can select your most recently used watermark profiles that were added to your pictures.

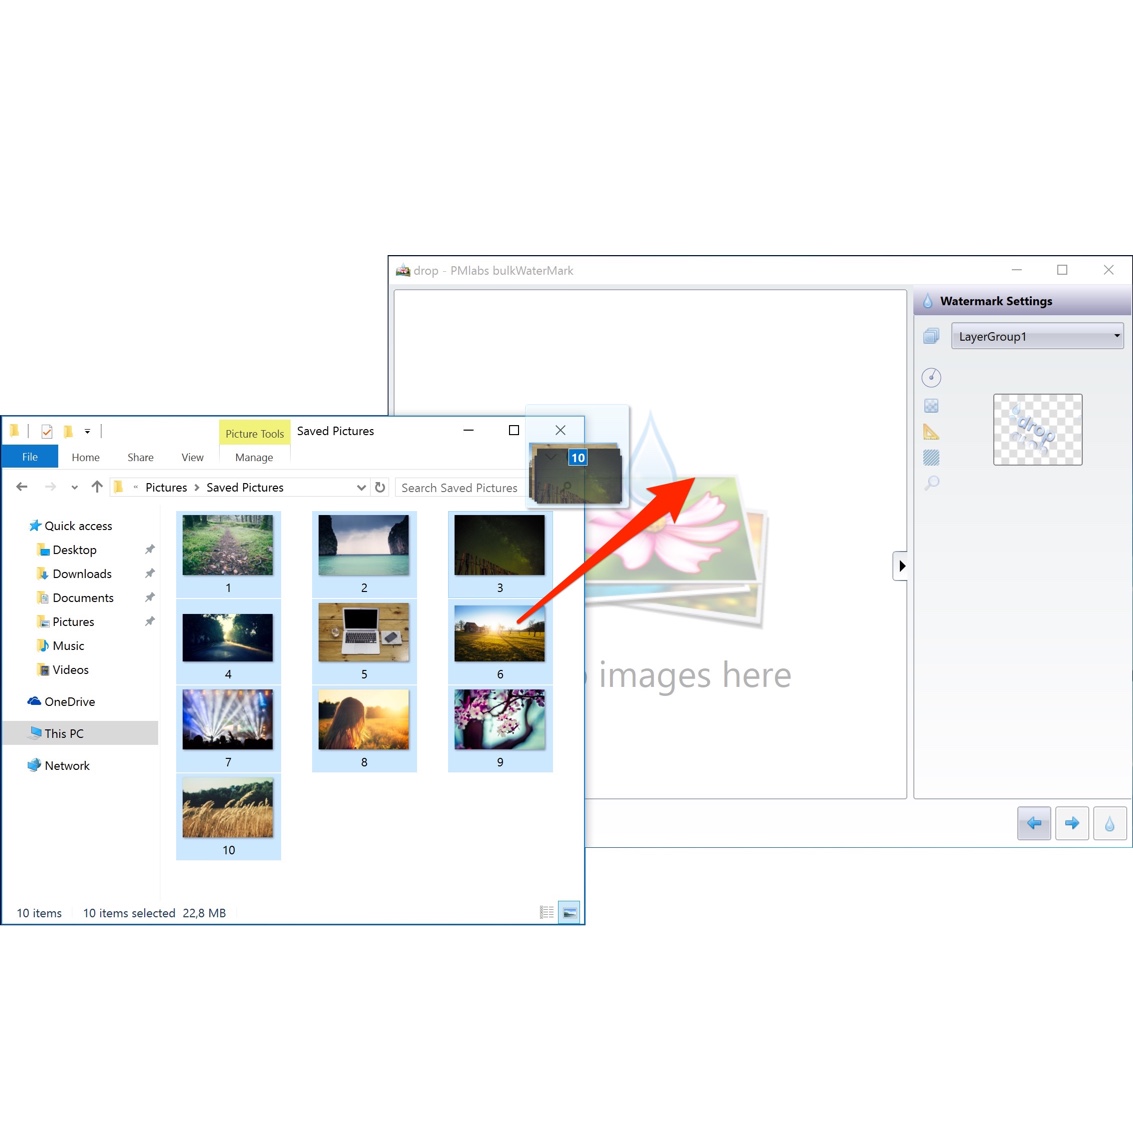
Bring the photos to be protected.Drag and drop the image files onto bulkWaterMark.
You can drag supported image files from your desktop or Windows Explorer directly into bulkWaterMark's photo batch list. Optionally you can also add pictures via the context menu of the batch list.

Start watermarking your photos.Hit the drop and let the magic happen!
Once you have setup how to watermark photos, just hit the drop button in bulkWaterMark's wizard and the software starts to protect your images from content theft on the internet.
Watermark images by just three clicks!
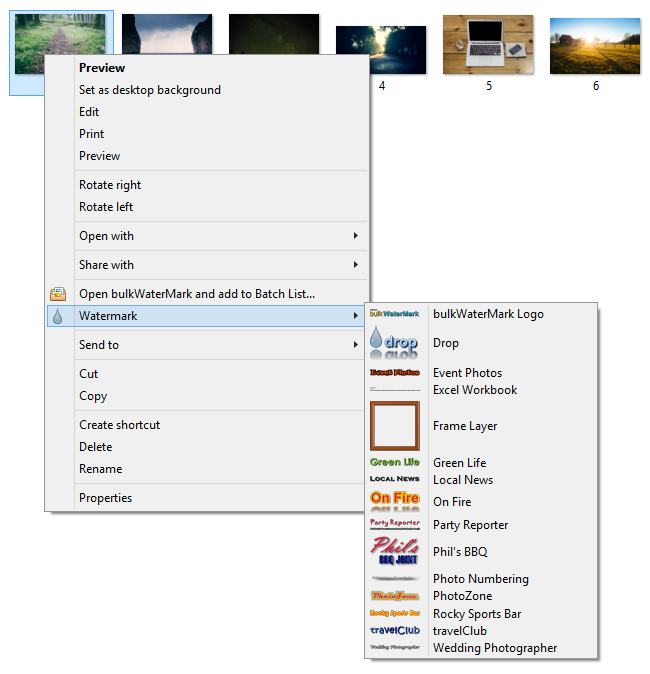
bulkWaterMark is structured by its easy-to-use wizard interface. When you start the application for the first time, you need to create a new watermark template to protect your images. Once you have defined how bulkWaterMark should output your pictures, you can start watermarking right from Windows Explorer and do not need to open the app anymore.


